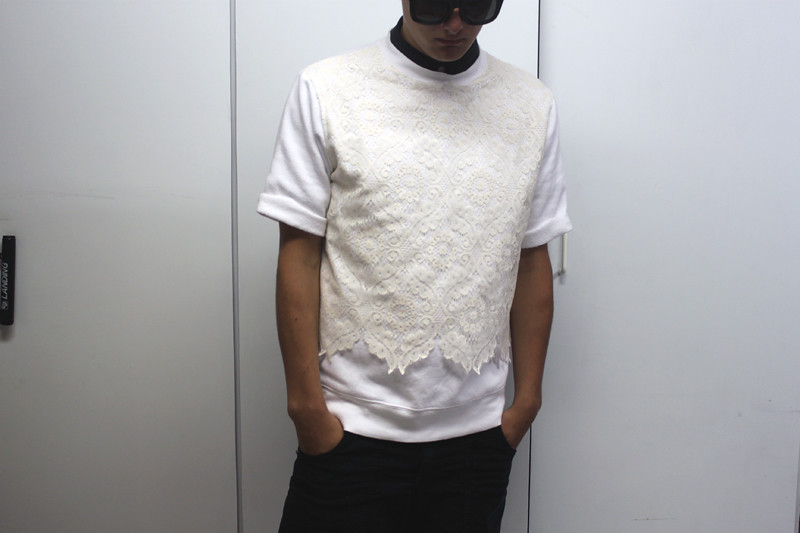
I've been trying to stay away from designer inspired DIY projects, but when I saw THIS PHOTO from the Givenchy S/S 2011 show I knew I had to try something similar out. As usual, I tried to take a but of my own spin on it. I decided on a white sweatshirt and a slightly cream colored lace just to get a little more contrast. I'm quite happy with how it turned out, too. Want to try it out for yourself? Here's how I did it!
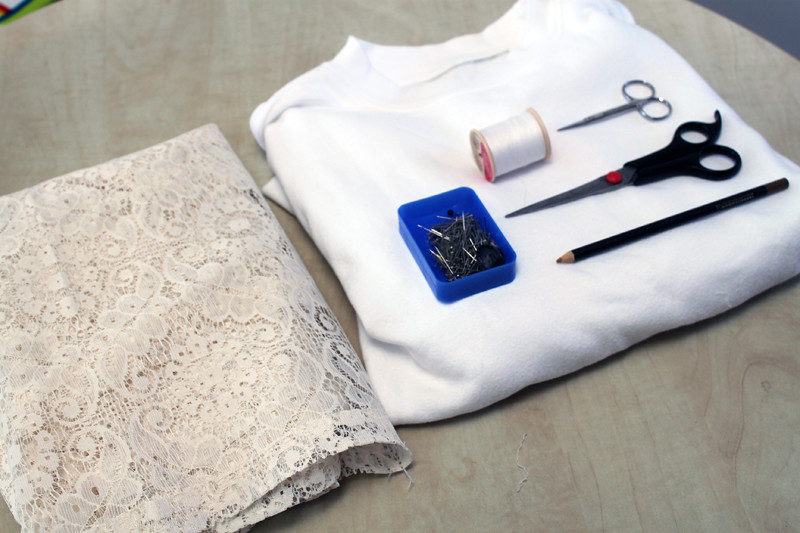
What you'll need:
- White sweatshirt
- Lace
- Sharp scissors
- Smaller scissors
- Pins
- Marking tool (didn't really use it much to be honest)
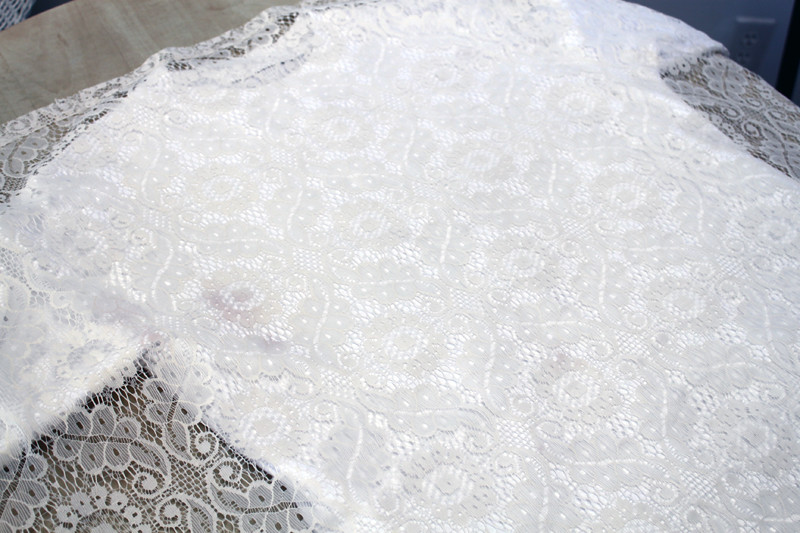
Lay your lace over the sweatshirt making sure the pattern lines up in the center of the sweater.
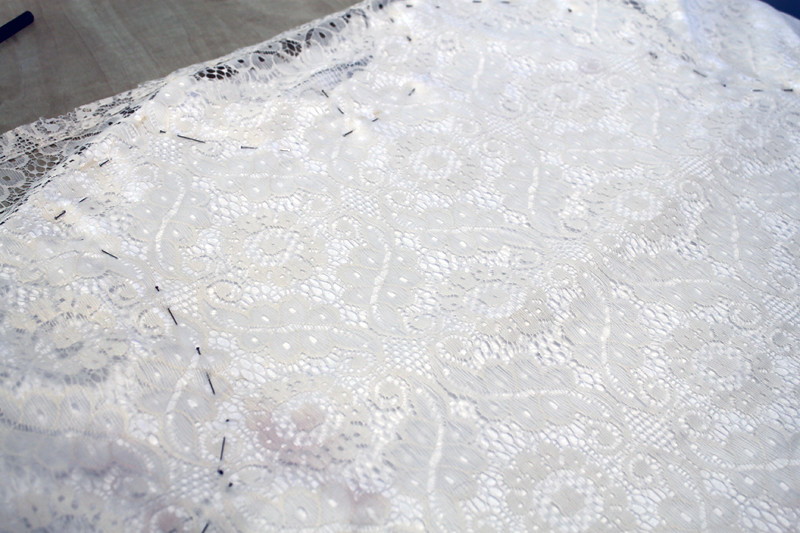
Pin all along the side seam, armhole, shoulder seam and neckline. Make sure the pins are lined up with the seams to allow for cutting in the next step.
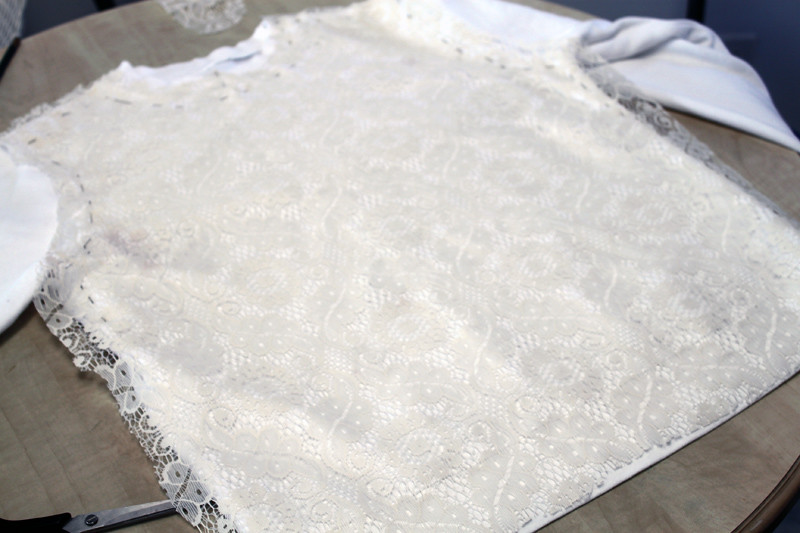
Cut access lace away. Make sure you leave enough allowance around all edges. You will be trimming the extra allowance near the end after sewing, so don't worry about making these cuts perfect. At this step I also took out my pins and repined everything, making sure that I only had the top layer of the sweater attached.
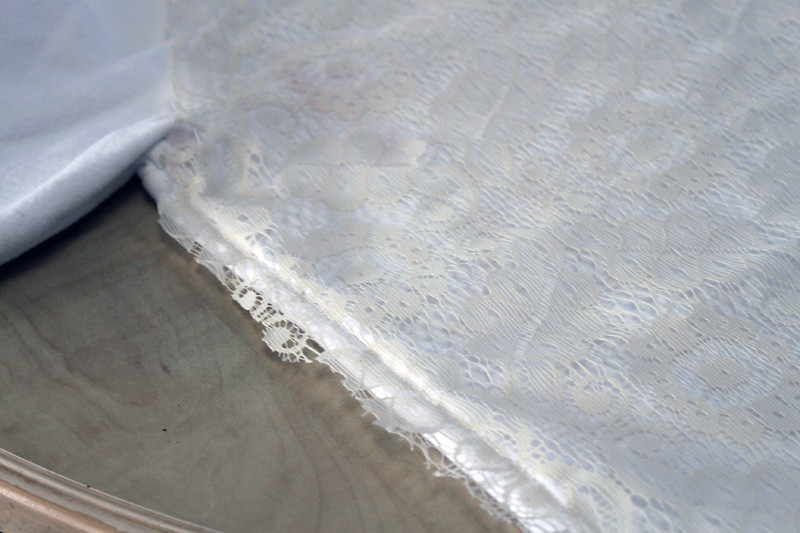
You'll now start sewing. I found it easier to only sew in one straight line at a time. Start with the neckline only, then do each shoulder seam separately. Then continue on both armholes and finish off with side seams. Follow the seams of the original sweatshirt as closely as possible.
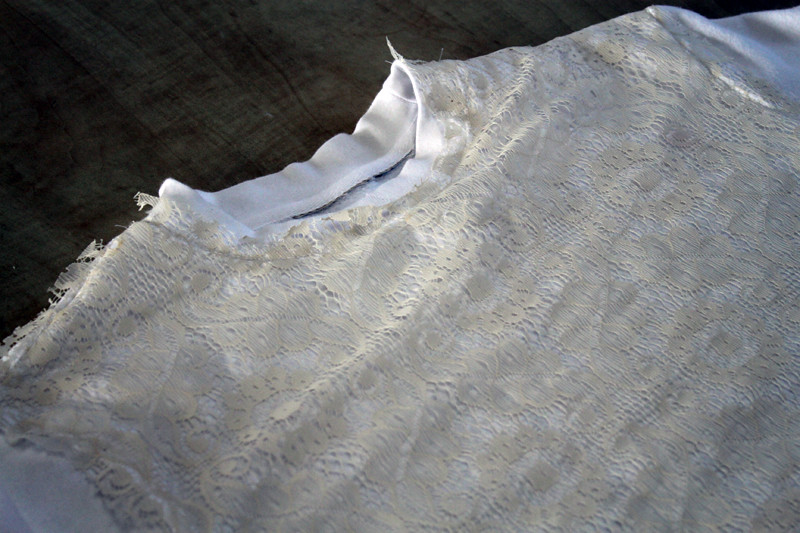
Once you've completed all the seams you'll be ready to cut off the excess lace.
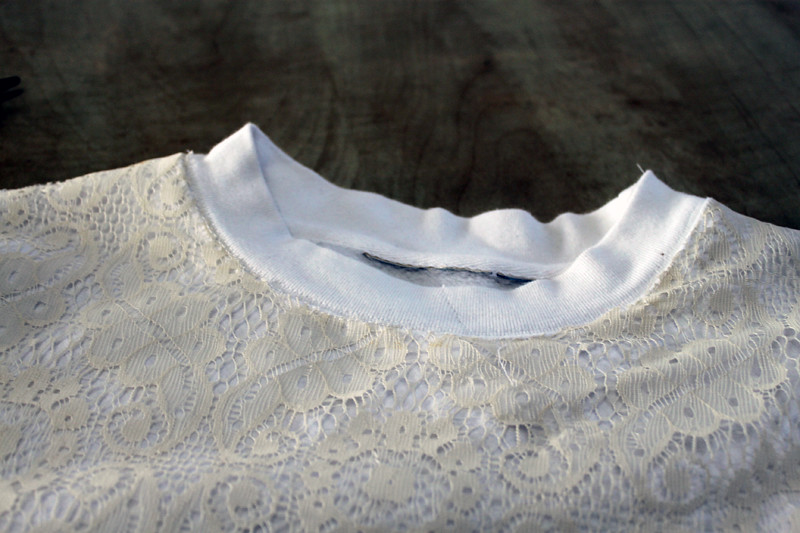
Cut as closely to the sewing line as possible. I cut it all with my larger scissors, then went through again with my smaller scissors to get any little pieces I may have missed.
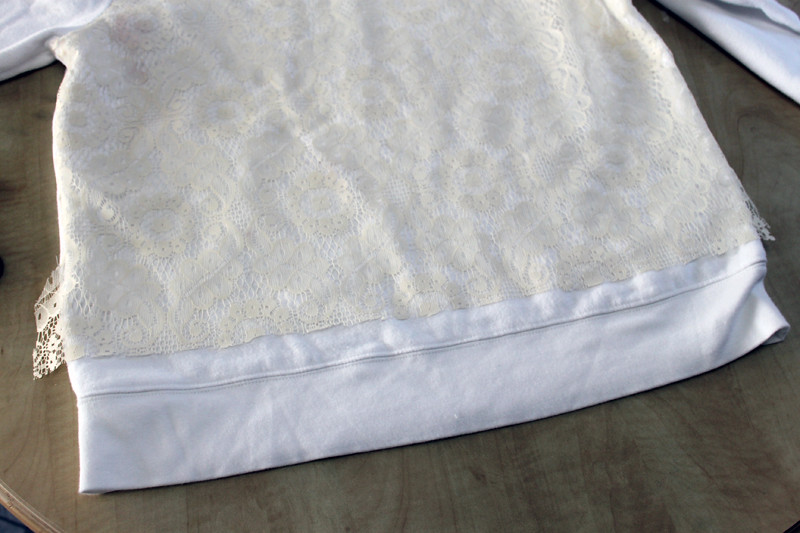
Now you're ready to cut the bottom. Find the most appropriate length where the pattern continues across the whole garment. All lace is different so it will really depend on the lace you buy.
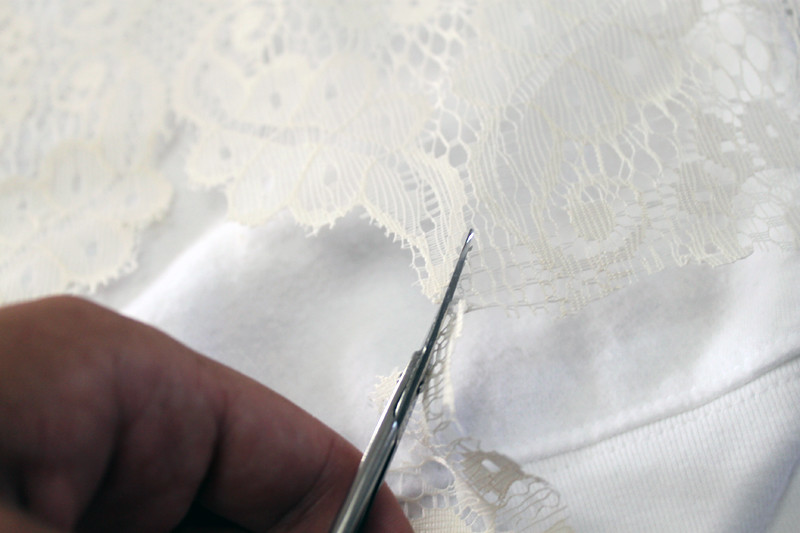
This is where your little scissors will really come in handy. Don't worry about being perfect, either. I found it looked best when there were little parts of the lace left here and there, as long as you are following the original pattern.

Continue all the way to where your side seams end. Don't worry too too much about following the pattern near the end, just make sure you cut to your seam.
There you have it! This was a relatively easy and quick DIY project. I'd really love to try this again with black lace. Let me know if you try it out!


19 comments:
always so good. is the entire thing hand-sewn?
Nope! It's all machine sewn. Sort of tricky but it's doable!
even though i don't sew, i'm going to attempt. this is a definite DIY win!
xx
I don't have a machine :(
ohhhhh what yes this is good this is real nice
wow
they look identical
edgeindustrialphotography.blogspot.com
I'm always impressed of your DIY's. They speak for your creativity! Another lovely one, btw :)
wow, that looks so great! that is something that even i could be able to do... maybe i will try too! :---)
you made it look pretty professional, if there's a market for it, sell them!
love it, you are so creative i really like that! <3 :)
Looks awesome! And even if you didnt have a sewing machine you could easily stitch it by hand.
so friggin fashion forward. love.
Amazing result! I'm always really impressed with this kind of innovation and skill. Nice one.
Lovely! This is a perfect DIY. X
great DIY
i want to try it but im so damn lazy
it looks rly good.. and.. very close to the original.. umm you should make more of these and sell them under some knockoff name like "Givonshee" or something hahah
love,
mimi
soyconfessions.blogspot.com
Your DIY's are consistently some of the best. I love this!
I really like the dear information you offer in your articles. I’m able to bookmark your site and show the kids check out up here generally. psd to email
adidas gazelle
curry 3
christian louboutin shoes
links of london sale
jordan retro
adidas outlet
nike air max
lebron 13 shoes
kobe shoes
yeezy boost 350 v2
Post a Comment